DIY Heating Repair Guide for Your Home
Heating systems are an essential part of our homes, especially during the colder months. However, like any other appliance, they are prone to wear and tear, which can lead to malfunctions and breakdowns. Calling a professional to repair your heating system can be costly, but did you know that you can save some money by doing it yourself? That’s right! DIY heating repair is a practical and cost-effective solution that every homeowner should consider.
In this article, we will discuss the importance and benefits of DIY heating repair. We will explore the reasons why you should take on this task, the tools and equipment you need, and the steps to follow to ensure a successful repair. Whether you’re a seasoned DIYer or a beginner, this guide will provide you with the information you need to tackle your heating system repair with confidence.
So, why wait? Let’s dive into the world of DIY heating repair and discover how you can save money and keep your home warm and cozy all winter long.
Thermostat Malfunction
Another common heating problem is a malfunctioning thermostat. This can cause your heating system to turn on and off at inappropriate times, leading to inconsistent temperatures in your home. To diagnose this issue, check to see if your thermostat is set to the correct temperature. If it is, but the temperature in your home is not matching the setting, your thermostat may need to be recalibrated or replaced. You can also try replacing the batteries in your thermostat to see if that solves the problem. If none of these solutions work, it may be time to call in a professional to diagnose and fix the issue.
Tools and Materials Needed for DIY Heating Repair Techniques
To successfully repair your heating system, you will need to have some basic tools and materials on hand. These tools and materials will vary depending on the type of heating system you have and the specific repair you need to make. However, there are a few common items that you will likely need.
One essential tool for any heating repair project is a multimeter. This tool allows you to test the electrical components of your heating system and diagnose any issues. You will also need a set of screwdrivers, pliers, and wrenches to remove and replace parts as needed.
In addition to tools, you will need some basic materials to complete your repair. These may include replacement parts such as fuses, circuit breakers, thermostats, or heating elements. You may also need electrical tape, wire nuts, and other electrical connectors to make repairs to wiring.
It’s important to note that while DIY heating repair can save you money, it’s not always the best option. If you are unsure about your ability to make the repair or if the repair requires specialized knowledge or tools, it may be best to call in a professional.
Step-by-Step Guide to Repairing Your Heating System
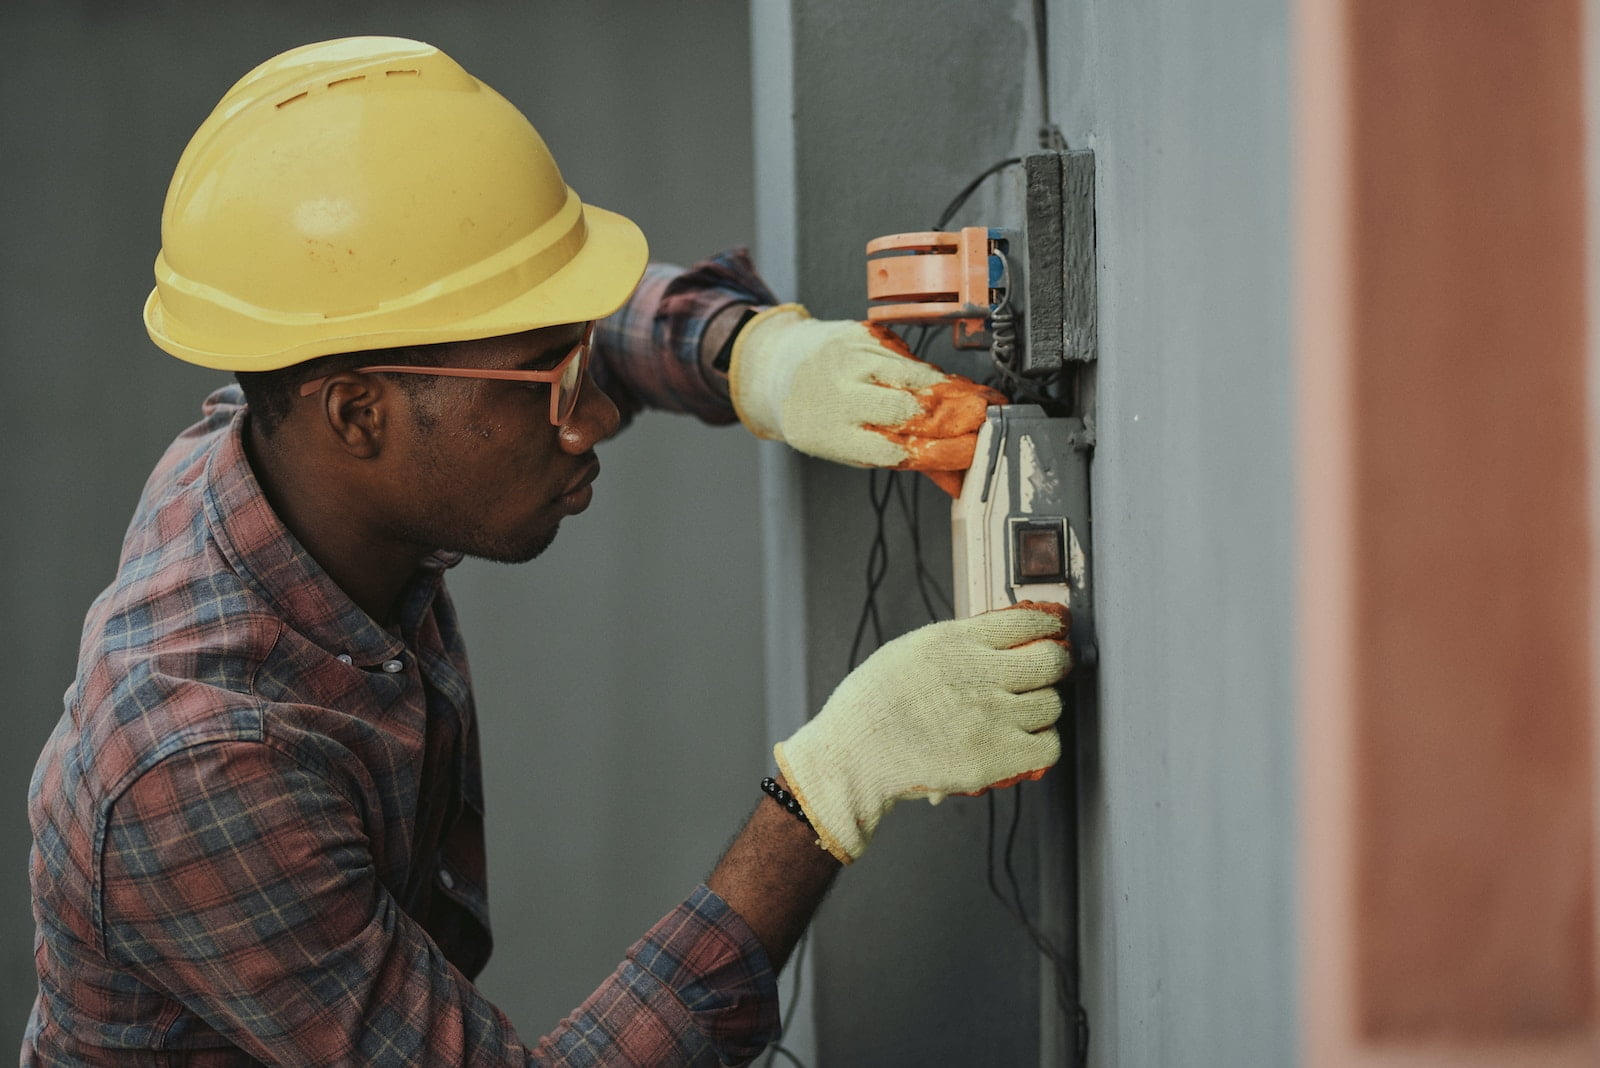
Now that you have identified the problem with your heating system, it’s time to start the repairs. The first step is to turn off the power to the system. This is crucial to avoid any accidents or injuries. Locate the power switch or circuit breaker and turn it off.
The next step is to remove the cover of the heating system. This will give you access to the components that need to be repaired or replaced. Use a screwdriver or wrench to remove the screws or bolts that hold the cover in place. Be careful not to damage any wires or other components while removing the cover.
Once you have removed the cover, you can start inspecting the components. Look for any signs of wear and tear, damage, or loose connections. If you notice any issues, you will need to replace the faulty component. You can purchase replacement parts from a hardware store or online. Make sure you get the right size and type of component for your heating system.
After you have replaced the faulty component, it’s time to put the cover back on and turn the power back on. Test the system to make sure it’s working properly. If everything is working as it should, congratulations! You have successfully repaired your heating system. If you still have issues, it may be time to call in a professional for further assistance.
Regularly Clean and Replace Air Filters
One of the easiest and most important preventative maintenance tips for your heating system is to regularly clean or replace the air filters. Dirty air filters can restrict airflow, causing your heating system to work harder and use more energy. This can also lead to overheating and potential system failure. It is recommended to clean or replace your air filters every 1-3 months, depending on the level of usage and the type of filter. This simple task can improve the efficiency and lifespan of your heating system, while also improving indoor air quality.


